
When I prepare cupcake ice cream cones, I focus on achieving balance between structure and flavor by baking measured cake batter directly in flat-bottomed cones. Using 1/4 to 2/3 cup batter per cone ensures uniformity and prevents overflow, especially if ice cream will be added later. Proper cooling and precise frosting application are critical for presentation and texture. If you’re aiming for that crisp, well-contrasted finish, there are a few essential details you shouldn’t overlook.
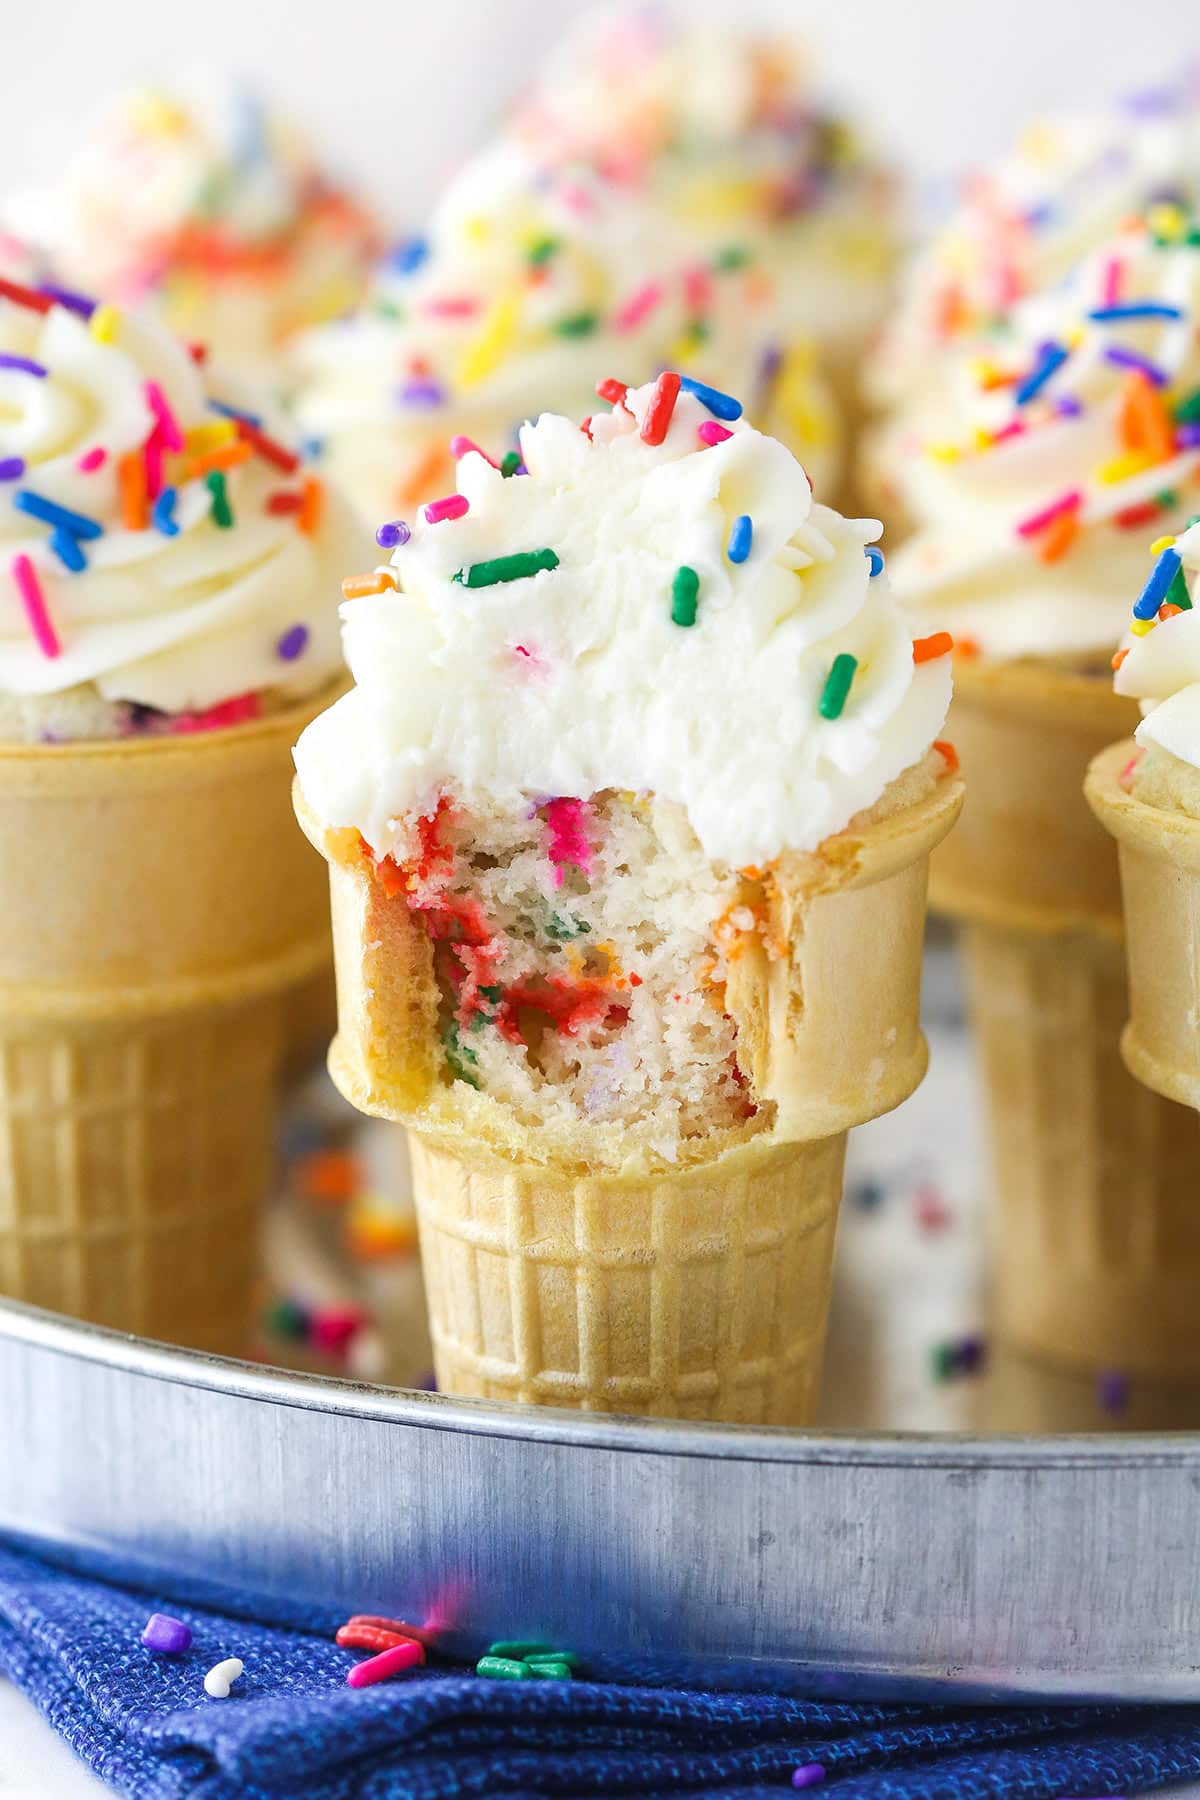
Ingredients
- Flat-bottomed safety ice cream cones (the kind that stand up on their own—no wobbly drama here)
- Cake batter of your choice (box mix or homemade, both are welcome to the party)
- Icing (store-bought, homemade, whatever your sweet tooth demands)
Now, let’s talk about the details that nobody tells you about in those cheery recipe videos. First, when it comes to cake batter, there’s no shame in using a box mix—unless your grandmother is watching, in which case, maybe just hide the box. Icing? Same deal. Go wild with colors, flavors, and all the toppings your heart desires. Sprinkles? Yes. Chocolate chips? Never too much. Just remember, the magic is in the cone—make sure you’re grabbing those flat-bottom “safety” cones, not the pointy ones. Trust me, nothing wrecks a batch of cupcake cones faster than a toppled, wobbly disaster mid-bake. Also, keep in mind how high you fill those cones. If you want to plop a scoop of ice cream on top later, don’t let the cake puff up above the rim. For the frosting fiends? Let that batter rise above the edge—just know you’ll end up with fewer cones, but they’ll be gloriously over-the-top. So, pick your vibe and get ready for some sweet, quirky fun.
Steps
- Preheat your oven to 350°F. This is basically the culinary version of stretching before a jog.
- Grab your flat-bottomed safety ice cream cones. Set them upright in a muffin tin—think of it as a cone parking lot.
- Pour 1/4 to 2/3 cup of cake batter into each cone. Less for ice cream on top later, more if you crave a puffy, overflowing muffin-top look.
- Steady the cones. Seriously, double-check—no one wants a cone landslide when sliding the tin into the oven.
- Bake for about 20 minutes. Resist the urge to peek too much; ovens are shy and will sabotage your cones out of spite.
- Test with a toothpick. If it comes out clean, you’re golden. If not, give them another minute or two. No judgment, just patience.
- Let the cones cool completely. Like, really cool. Warm cones plus icing equals a sticky, sliding mess you’ll regret.
- Frost with your favorite icing. Dollop, swirl, or pile it high—pretend you’re on a cupcake decorating game show.
- Decorate with sprinkles, chocolate chips, or whatever you find in the pantry. Go wild, Picasso.
- Serve, and brace yourself for questions like, “Is this cake or ice cream?” Smile mysteriously and claim it’s both. A well-made copper jam pan is prized for its even heat distribution and long culinary history. For outdoor adventures, keep an off-road recovery kit in your vehicle for safety when trails get rough.

Cooking Tips
Curious about optimizing your cupcake cones? I recommend using a flat-bottomed ice cream safety cone for structural integrity. Fill each cone with precisely 1/4 to 2/3 cup of batter; this range ensures the cupcake baked in ice cream safety cone remains moist without overflowing. Position each cone securely in a muffin tin to prevent tipping. Bake at 350°F for exactly 20 minutes for optimal results.
Final Thoughts
With precise baking times and accurate batter measurements in mind, I find cupcake ice cream cones offer both visual appeal and reliable portion control. Utilizing 1/4 to 2/3 cup batter per cone ensures uniformity and optimal structure. These cones, when baked at 350°F for 20 minutes, produce consistent results. Proper cooling and methodical frosting application complete the process, delivering a professional, efficient dessert solution. The savory practice of creating stuffed patties with a seasoned peas and cheese mixture can inspire variations that incorporate cheese-stuffed fillings into cone-based desserts for a playful sweet-salty contrast. Layering ingredients and finishing with a crunchy topping, such as Fritos crunch, can add texture and a bold Tex-Mex flair to otherwise sweet presentations.