
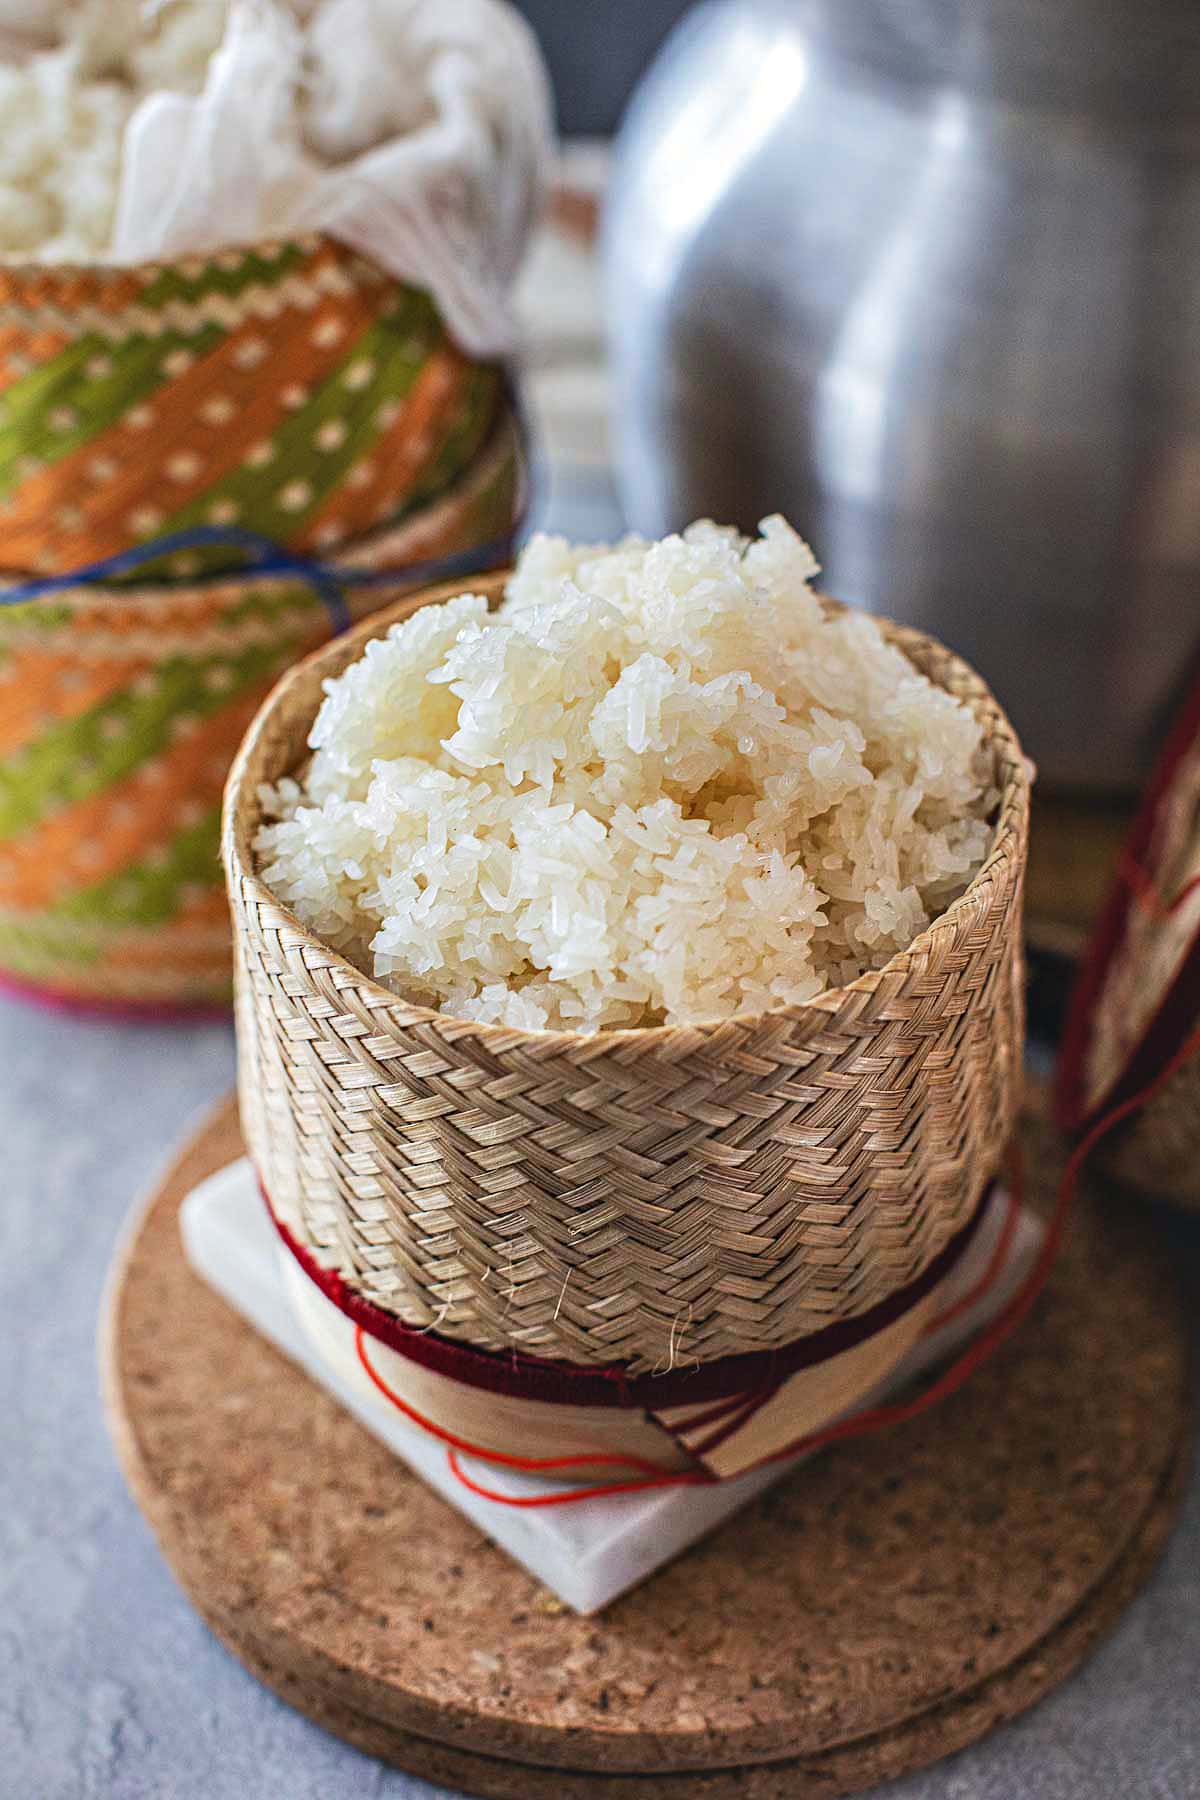
When I make sushi rice with a bamboo steamer, I pay close attention to every detail—starting with rinsing and soaking the grains just right. My approach is all about getting glossy, separate grains that hold together perfectly for sushi. If you want to understand how to prep, steam, and season rice for ideal results, there are a few key steps you can’t skip. Let me show you exactly how I do it.
Ingredients
Sure thing, let’s break down exactly what you’ll need to whip up some sushi rice in a bamboo steamer. If you’re already sweating at the thought of buying obscure ingredients, don’t panic—this list is pretty straightforward. Here’s what you’ll want to grab before you even think about rinsing a single grain of rice:
- 2 cups short grain rice (no, not long grain, not medium—only short grain, or the sushi police might show up)
- 1/4 cup sugar (because apparently, sushi rice is sweet on the inside)
- 1/2 cup rice wine vinegar (the magic that makes it sushi rice and not just, well, rice)
- 2 tablespoons mirin (that’s the slightly sweet Japanese cooking wine, not to be confused with sake, unless you want a party)
- 1 teaspoon salt (regular table salt is fine, unless you’re feeling extra fancy)
Now, let’s get real for a second. Not all rice is created equal. You absolutely want to hunt down short grain rice—not basmati, not jasmine, not that mystery bag you found in the back of the pantry. Why? Because short grain is sticky, fluffy, and holds together like rice in your favorite sushi roll should. As for the vinegar, rice wine vinegar is the classic—don’t go swapping in apple cider vinegar unless you’re aiming for sushi fusion that’ll make your ancestors roll in their graves. Mirin might sound like a diva ingredient, but it’s worth it for that subtle sweetness and shine. If you can’t find it, you could fake it with a dash of sugar and a splash of sake, but don’t tell any sushi chefs I said that. And yes, sugar and salt—don’t skip them, or your rice will taste like sadness and missed opportunities.
Steps
- Measure 2 cups of short grain rice—yes, the sticky kind, not that wild long grain stuff.
- Dump the rice into a mesh colander. Seriously, don’t skip this. Rinse it three times with cold water. Pro tip: swirling it with your hand helps.
- Plop the washed rice into a bowl. Cover it with enough cold water to submerge every last grain.
- Put a lid or plate on the bowl, then let the rice soak for at least 2 hours, or up to 8 if you’re a patient saint. (The longer the soak, the quicker the steam. Science.) The soaking step also helps achieve the right texture when using a premium stock pot as part of your kitchen setup.
- Grab your bamboo steamer. Take off the lid and upper baskets. No rice falling into the abyss today.
- Line the bottom basket with a clean, damp dish cloth. Yes, it seems weird. No, it’s not optional.
- Drain your soaked rice, pour it onto the cloth in the steamer, and gently spread it out. Don’t just dump it in like a barbarian.
- Cover the rice with another clean, damp dish cloth. Fold those corners in like you’re wrapping a sleepy baby rice burrito.
- Pop the lid back on the steamer. You’re almost there. The anticipation is real.
- Fill a wok halfway with water, and bring it to a rolling boil. Steam, not soup.
- Carefully place the bamboo steamer on top of the wok. Make sure the bottom doesn’t touch the water. No soggy rice allowed.
- Steam the rice for about 30 minutes. Every 10 minutes, check that there’s still water in the wok and the cloth isn’t drying out. Pour a little water (about 1/4 cup) over the cloth if it looks thirsty.
- After 15 minutes, sneak a peek and test for doneness. If it’s still crunchy, just cover it and keep going. Overcooked rice = mushy regret.
- When the rice is done, dump it into a big bowl. Pause to admire its fluffy glory.
- In a small pot, heat 1/2 cup rice wine vinegar, 2 tablespoons mirin, 1/4 cup sugar, and 1 teaspoon salt over medium heat. Stir until the sugar dissolves, but don’t let it boil—this isn’t a science experiment gone wrong.
- Pour the hot vinegar mixture slowly over the rice, folding it in gently with a spatula or rice paddle. Don’t stir aggressively. This is sushi rice, not mashed potatoes.
- Taste as you go. You want it tart and sweet, not bland or eye-watering. Adjust if needed, but go slow.
- Wipe the inside rim of the bowl with a damp cloth. It’s a little extra, but trust—makes cleanup easier and your rice looks all shiny and impressive.
- Cover the bowl with a cloth and let the rice rest for 30 minutes. Don’t rush—this step is your ticket to sushi greatness.
- Use immediately, or just stand there and admire your work. Either way, you’ve just made sushi rice like a pro.
If you want a hands-off alternative for soaking and cooking rice, consider using a programmable bread maker that can handle rice settings and timed cycles. Also consider a commercial burger press when equipping a small commercial kitchen for consistent product output.

Cooking Tips
Once your sushi rice is resting, there are a few techniques that’ll make all the difference in texture and flavor. For sushi rice made in bamboo steamer, I always keep the rice covered with a damp cloth to prevent drying. When folding in the vinegar mixture, use a paddle and a slicing motion—don’t mash. Let the rice cool naturally, uncovered, for the best shine and stickiness. For a bright, complementary side, consider serving the rice alongside a fresh salad with toasted slivered almonds and mandarin orange segments to add crunch and a touch of sweetness. For an even better finish, brush the top lightly with egg wash before a quick steam to encourage a glossy appearance.
Final Thoughts
A well-made batch of sushi rice using a bamboo steamer highlights the importance of patience and careful technique. Each step—from rinsing and soaking the short-grain rice, to steaming between damp cloths, to folding in the seasoned vinegar—contributes to the final texture. Don’t rush. Taste and adjust the seasoning, aiming for balanced, glossy grains. With practice, you’ll consistently achieve authentic sushi rice at home.